
Index
June 10th 2015 The Deck
June 21th 2015 Building the Frame
June 27th 2015 Mike Bear
June 28th 2015 Adding CCR’s Weld-ons
June 30th 2015 CCR Body
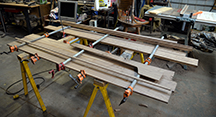
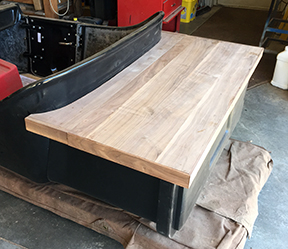
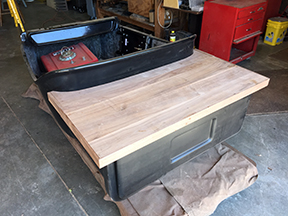
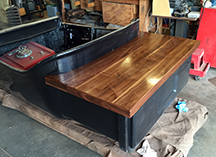
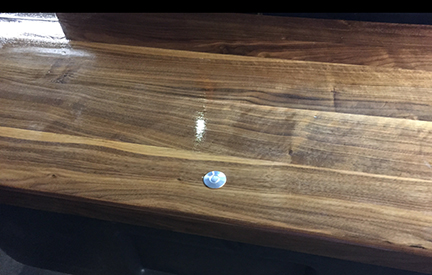
June 10th, 2015
Decided to build the deck and dash from Walnut

![]()
June 21th, 2015
Building the Frame
I picked up the steel for the frame from Discount Steel in Minneapolis. If ever you want to see customer service done right Discount Steel is the place to go. From the first welcome to the last have a nice day and all the “may I help you” in between, they have over the top customer service and support. These guys and gals are selling steel and this is the best customer service I have ever had. They have earned my business for this project.

Steel Supplier

Steel cut and ready to weld up.
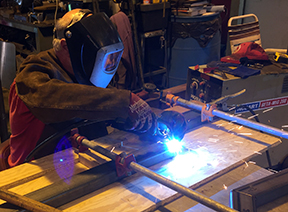
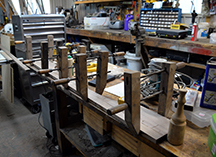
Built a jig to weld the frame rails up.
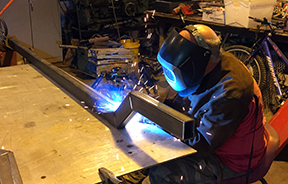
Finish welding the frame rails
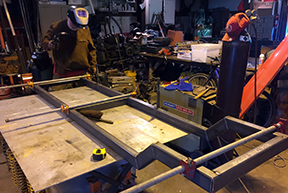
Clamping the frame rail together
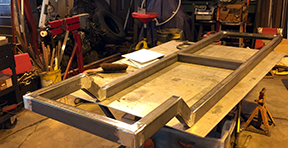
Finished boxed frame
June 27th, 2015
Mike Bear
About Mike: Mike Bear is my bother. Without his help and guidance this project would not be taking shape as well as it is. Mike has over 45 years of experience designing fabricating and building hot rods and race cars. Already in this project he has made suggestions on every from the engine build to the frame design and tons of other details. There been more than one Budweiser and Miller drank BSing on how we should build the “T”. Plus a small bonus, some of those late model parts are going to make their way into the build.
Mike Bear June 2015 - At home in his shop
Both of us give our dad, W. Forrest Bear credit for our ability to build and repair all most anything. As kids, if it was broken we fixed it. If you wanted a fire place insert to heat your house, you built one. We didn’t know that you could hire someone to fix something for you until we were in our late teens. Thanks Dad.
June 28th, 2015
Adding CCR’s Weld-ons
I will be using a mix of purchased weld-ons from CCR and homemade mounts on this project. I am using a Quick Change rear end and will need to design and build all the rear end mounts. I will be using clamp on brackets to attach the mounts to the aluminum tubes of the quick change.
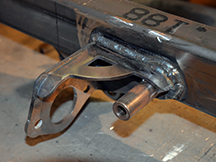
The CCR Weld-on brackets are very nice. The front perch is designed to have the leaf springs mounted on top. This is different than most T Buckets. It allows the front end to be dropped by just adding spacers CCR suggested I add additional bracing to the center radius rod mount. See picture below
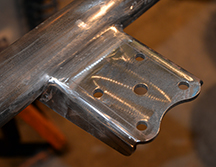
Front spring perch
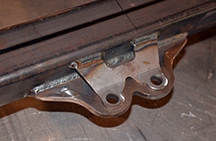
CCR radius rod mount extra brace
Radius rod mount.
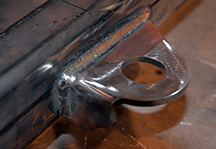
CCR engine mount
CCR break bracket

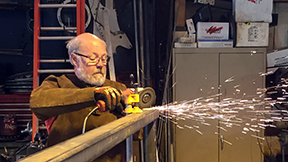
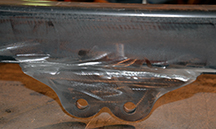
The start of the quick change mount,
hand cut and ground. This will be a clamp on bracket.
June 30th, 2015
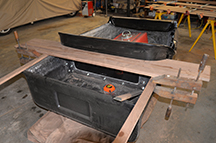
California Custom Roadsters (CCR) Body
I purchased the 1923 Smooth Long “T” Bucket Body with a left side door, from California Custom Roadsters (CCR). The body is well manufactured and the insides have been clean up and ready to be dropped on the frame. I also ordered the longer bed. It came pre fitted and drilled to the body. The body and bed match up perfectly. When I was trying to pick out a body is was hard to find pictures of the bodies.
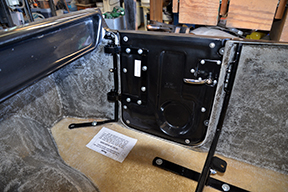
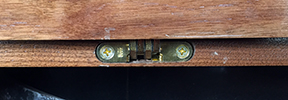
Door and seat brace
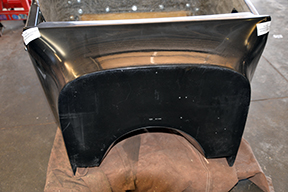
Firewall
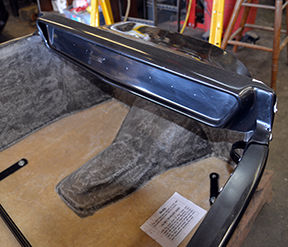
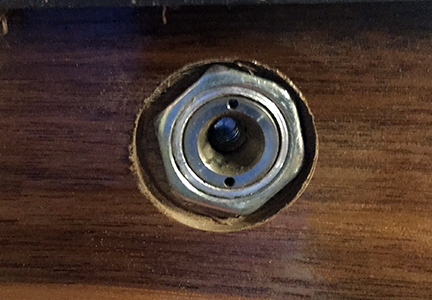
Dash – Note the gauge marks, nice
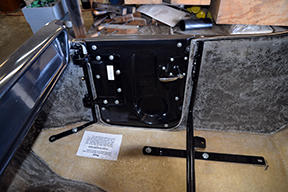
Left Side Door
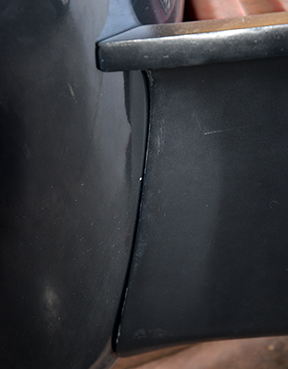
Nice fit
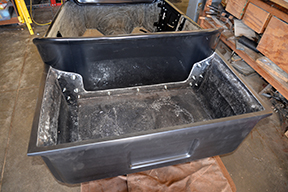
It came pre-drilled and ready to mount